Showing posts with label line. Show all posts

Saturday, 28 May 2011

Collagraph Bird Prints

During my probationer year in Scotland, I did this collagraph technique with a class of 1st year students (year 7).  My friend Lisa had given me the idea after seeing some of her students’ work on display at an Art Teacher Fair in Perth.  Lisa graduated in printmaking and is also an art teacher, and I'm always looking to her for ideas!
The department at St Maurice's High School have a brilliant selection of stuffed birds, so I got the students to start off by making drawings of these birds, concentrating on patterns and textures, then as a development  we made these collagraphs. 
I went to B&Q (a hard ware shop in the UK) and helped myself to their free samples of fuzzy wallpaper.  It's the stuff that your granny would have in her house, I can’t remember the name of it, it’s soft and fluffy and comes in loads of different textures and patterns, and you can paint on the top of it.  Students collaged this wallpaper along with string, then rolled ink onto the surface and took a print using the printing press. 
I really like the results, and students loved this technique.


 On display in the classroom...


Wednesday, 25 May 2011

Light Sensitive Paper with Wire Portraits (Nature Print Paper)

Last summer I visited the Victoria & Albert Museum in London, where they were running summer activities around the gallery.  Outside in the courtyard there was a stall set up with this ‘Nature Print Paper’.  Visitors were encouraged to make a paper silhouette, based on something they had seen in the gallery, and place this on top of the light sensitive paper.  After some time in direct sunlight, the chemicals on the paper’s surface react and leave an imprint.  To stop this reaction, you place the paper in water, which was the lovely pond at the V & A.  The colours on the paper actually reverse (ie – they white parts go dark blue) – I don’t know how this works, but it’s a fun thing to watch.  I was so impressed with this technique that I went straight out and bought some of this magic paper.

Here is the one I made that day.....

It was only when I was doing the wire portraits a few months later back in Abu Dhabi that I thought to use it.  We get sun every day of the year – so it is perfect for this!  The year 8 classes loved it - it was a chance to take them outside for a change, and it’s also great watching the paper magically turn in the sunlight, then again when the process is stopped in the water.  The blues get darker when they dry.


Wire Portraits

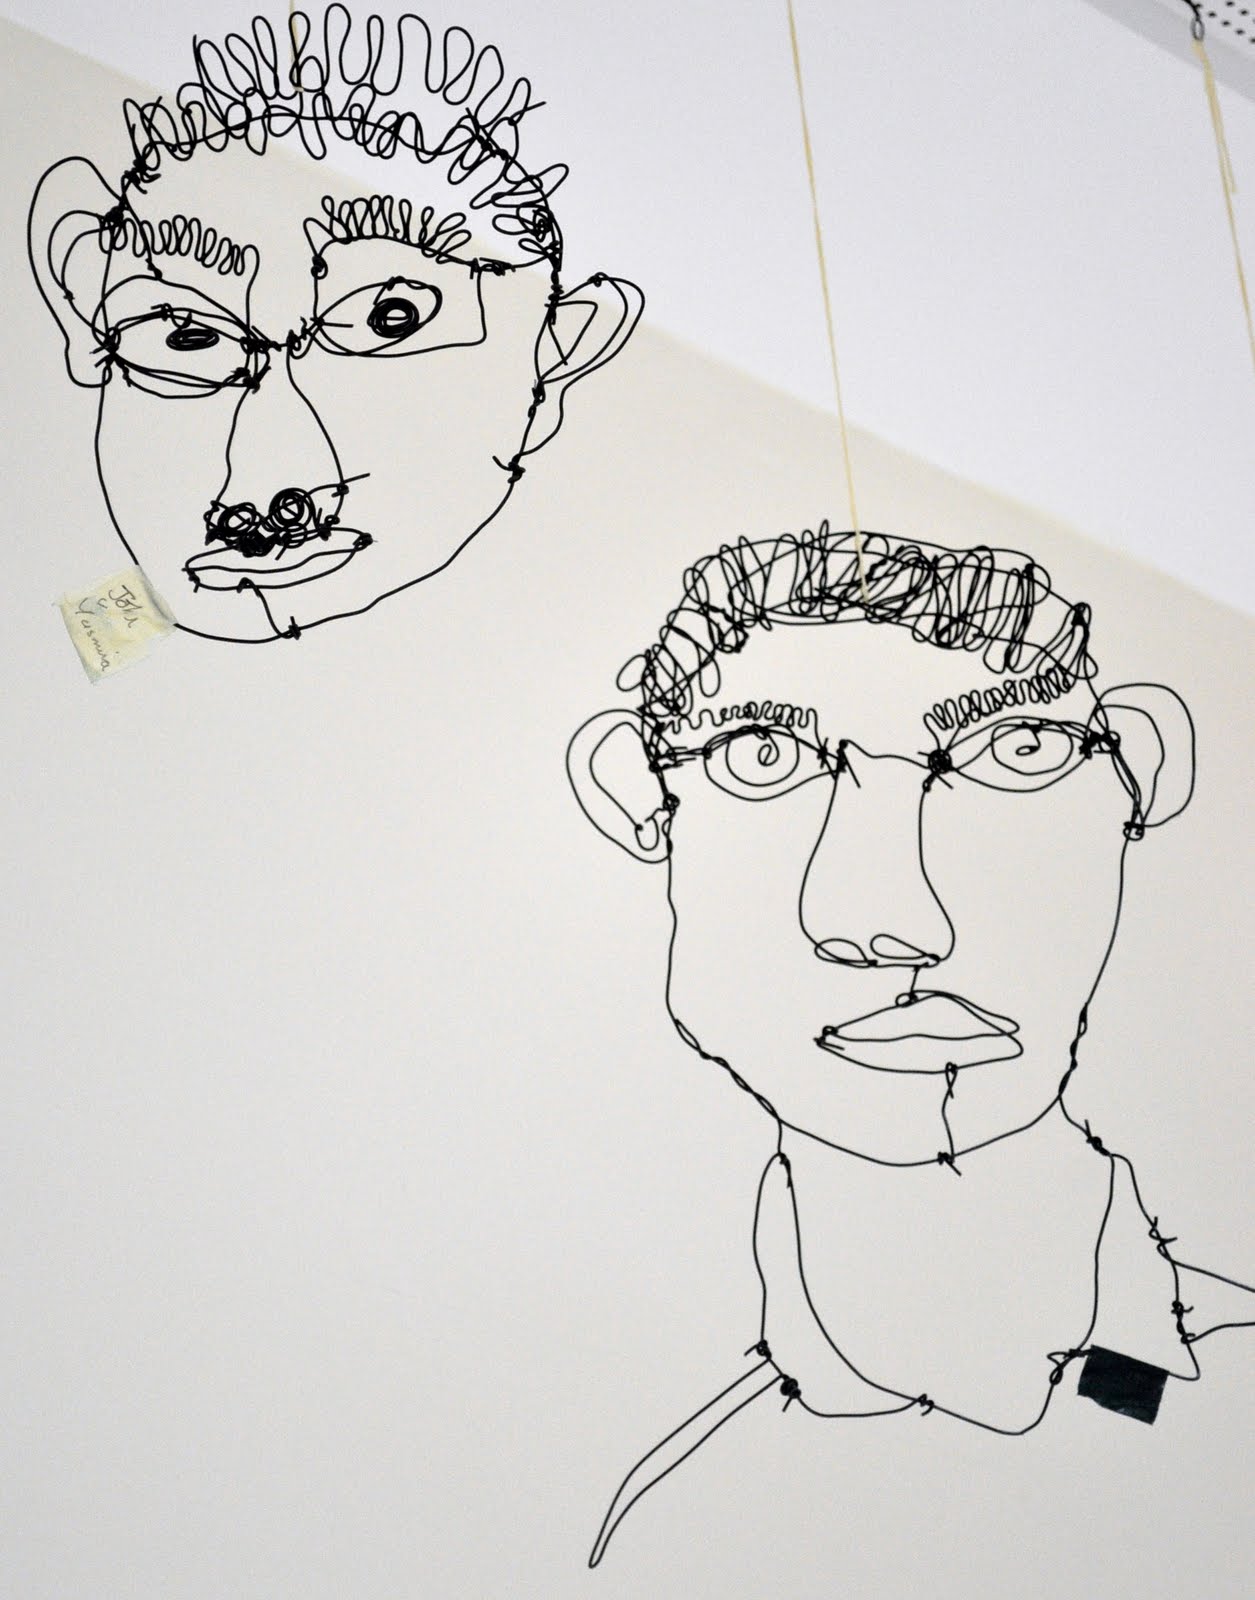
I have done the wire portraits at all of the schools I have taught in so far, because I love the end results!  Here are some photos of the wire portraits.
Students begin by making a continuous line drawing of their own face using a mirror.  I talk to them about different types of lines to describe different parts and textures.  The drawings then become their ‘guide’ on which they bend and shape the wire directly on top.  I always emphasize that this is an experimental technique and I encourage them to find new ways of working with the wire.
I’ve found the plastic coated gardening wire the best to use, you can buy this for pretty cheap at DIY shops and gardening centers.  I’ve used both wire cutters and scissors to cut the wire, both work fine, but the wire will blunt your scissors.
The wire can be a bit dangerous when a child is wiggling a sharp end near eyes, so I get the students to tuck the end of the wire under the desks when they are working. 


 On display in the school's atrium...